April 18, 2014

DIY Easter Wreath


Hello!
I have definitely been procrastinating lately.
Easter is in 2 days!
And I haven't posted my Easter crafts yet!
Yikes!

Here is one of them that you can make for $4!


Here is what you'll need:


*Flat piece of cardboard (Free)
*Glue gun and LOTS of glue
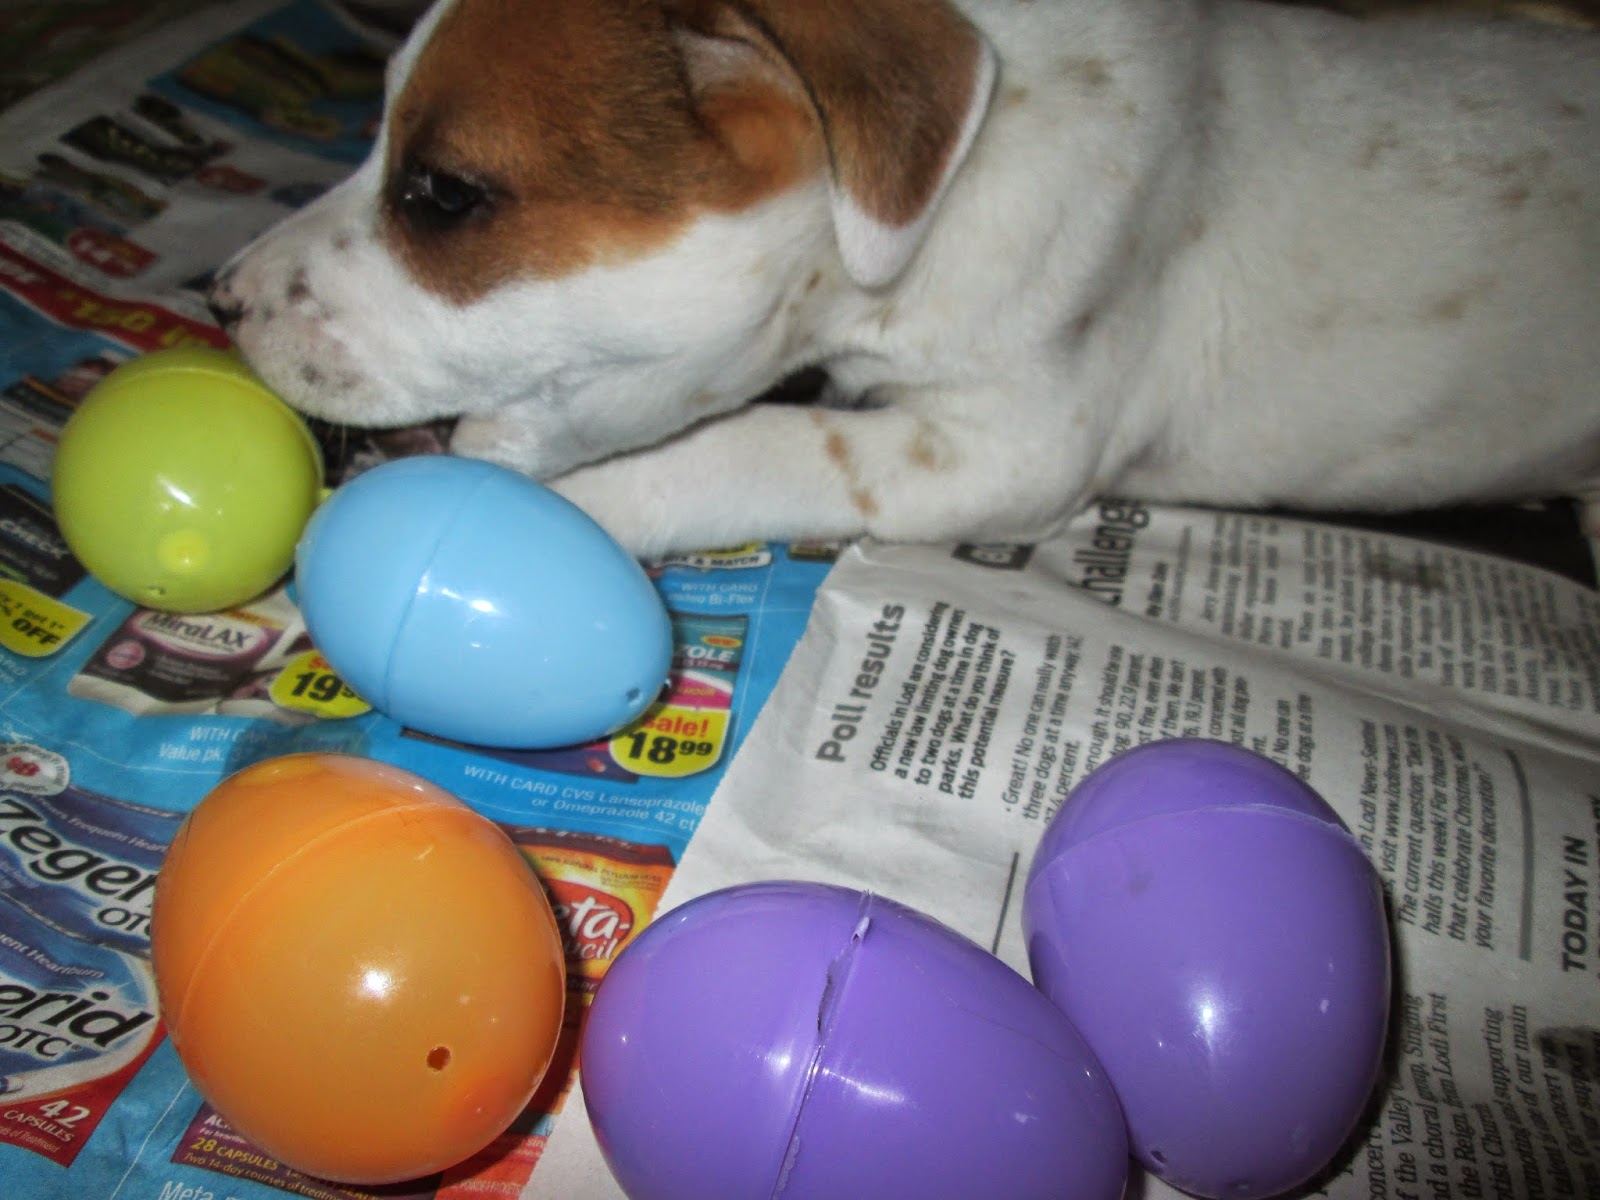
*Plastic Eggs (Dollar tree - Two 18 packs plus one 8 pack of chick eggs that were too cute to pass up- $3)
*Easter grass (Target - $1 for two bags)

I love it when an adorable craft is easy and cheep!

Lets gets started!


Take your cardboard and draw and cut the size of wreath you want.


Once you have your cardboard cut out.
Add the Easter grass to the cardboard.
(I was so excited I forgot to take pictures.)
I did use two different color grass to make it more colorful.

Next add your eggs!
(Again totally forgot to take a picture, I'm sure you can figure out )


Once I had all the eggs I could fit on, I had enough left over to add a second layer.


Plus I had a add my adorable chick eggs!

Once I was done putting the second layer on, I saw that my Easter grass wasn't looking so good.
I took my scissors to the ones that were super long and trimmed them.
Making all the grass about the same size.

After I was all done, I had a few eggs left over so I gave them to my new puppy Donut!


Now my favorite part!
Hang, enjoy and wait for compliments!


Thank you for reading!


April 3, 2014

DIY Spring Wreath


Well hello there!
Have a ever mentioned how much I'm excited for Spring?!
Uh! So pumped!

Here is beautiful spring wreath I thru together today.


Adorable.

Here is what your gonna need:


-Foam circle thing. (I got mine at Walmart - $4)
-Lots of thread. (I found this amazing thread at Walmart in the knitting section -$1.47)
-Spring flowers of your choice. I love me some Sunflowers. (Dollar Tree)
-Felt. (Walmart- 23 cents)
-Alphabet stickers (Walmart -$1 for one sheet)
-Hot glue gun + glue
-About 2 hours of time.


Start wrapping your wreath.
I didn't glue it down at all, all I did was tie and was on my way.

 Start wrapping. Making sure all your string in laying down flat.


Look how amazing that looks!


Next! Take your felt, cut it in to little squares then cut a small triangle.


Add your stickers!


Next, I took a piece of the thread/string stuff and wrapped it and tied it around one side making sure it was straight and tight, I wrapped it around the other side. Once it was perfect, I glued it down for save keeping.
And again for the second string.


Add your flowers where ever you like them.
I like them at the bottom.


What a beautiful spring wreath!
And for only $6!
I love it!
I would love to see your wreaths!
This is by far the cutest wreath I have made.
I can't wait to make more thread wreaths.

Thanks for reading!
Happy crafting!


April 2, 2014

DIY Easter Banner


Hello there!
This adorable Easter banner is super easy and free!


Here is whatcha need:

Easter Banner Pintables (Found at catchmyparty.com made by Jillian Tohber Leslie)
-Hole Punch
-Ribbon


Once you have the pages printed, go ahead a cut them out.
Punch hole in both corners of the top of the triangle
and string the letters on to your ribbon.

Hang and enjoy!
Simple as that!

Thanks for stopping by!


March 25, 2014

DIY Spring Banner


Its spring at last!
Yay!
Here is a pretty easy craft you can do in a jiff.
Or even on a rainy spring day.


This is where I found this adorable banner:
Spring Banner
The printable and instructions are there.

I made mine a little different. I decided not to use the coffee filters or the clothes pins.
Turned out super cute.
This banner is super easy to make and lots of fun.
Thank you to Jamielyn Nye for this adorable banner.


Thanks for stopping by!

March 24, 2014

S'more Bars


Hello again!
Today is very special,
Because today, I will be sharing my favorite dessert recipe with you.
I am famous for these S'more bars. I have made them many times and many different ways.
And every time, they are a hit.
Lets begin.


S'more bars are the best way to eat a s'more!
Easy to eat and no mess!

Ingredients:

1/2 cup butter- softened
1/4 cup brown sugar
1/2 cup sugar
1 large egg
1 teaspoon vanilla extract
1 1/3 cup flour
3/4 cup graham cracker crumbs
1 teaspoon salt
2-3 king sized chocolate bars
8oz (jar) marshmallow creme


*Cupcake Remake Tips*
**Try mixing 4oz of marshmallow creme and 4oz of peanut butter!**
OR
**Using Cookies and Cream chocolate bars**


Directions:  

Preheat oven to 350 F. Grease pan of choice. I normally use a regular size Pyrex pan.


* In a large bowl, cream together butter and both sugars until light and fluffy.
*Beat in vanilla and egg
*In another bowl, whisk together flour, graham cracker crumbs, baking powder and salt.
* Add dry ingredients slowly to the large bowl and mix at a low speed until combined..
*Divide dough in half. (For top and bottom crust) Press half the dough into an even layer on the bottom of prepared pan.


*Place chocolate bars over the dough.
I have normally use regular chocolate bars, but this time I used Cookies and Cream! Yum!
Also, I only had 2 bars this time, so I spread them out. If I had 3 then I wouldn't of broke them up, but sat them side by side.


*Spread marshmallow creme over chocolate bars.


*Place remaining dough in a single layer on top of the marshmallow. (Flatten dough into small shingles and laying them together, is the easiest way.)


*Bake for 30-35 minutes or until lightly brown.


Makes enough to share, but you wont want to!


Thanks for stopping by!
See ya!

March 17, 2014

DIY Cookie Sheet Flowers


Hello everyone.
 Last week was intense!
From my guy and I getting sick to our car getting backed into and sent to the repair shop for 3 days!
It was one busy week!
I had almost no time to craft at all :(
But I new week is here and its time to get all caught up.

Last Wednesday was National Plant a Flower day!
Besides planting flowers on Wednesday, I made these!


These are made out of disposable cookie sheets.
These adorable flowers are simple yet time consuming. 
______________________

If you have an afternoon, this is what your going to need to make these flowers:

*Disposable cookie sheets (Dollar tree- comes in a 2 pack. I grab 2 of them.)
*Spray paint (I got mine at Walmart)
*Matte Finish (I got mine at Walmart. I picked this one because Im going to hang my flowers out side.)
*Buttons (Or any center that you want)
*Scissors
*Flower stencils (I made mine of paper)


Grab your paint and start painting!


Let them dry. As I was waiting I took pictures of my dogs!


Princess(above) & Napoleon (below)


When your cookie sheet is done spray your finish on them.
Once dry, I flipped my cookie sheets over and painted the opposite color on the back of them and put a coat of finish on, this is optional, totally up to you.


Once completely dry, bring them inside and start your flowers!

I had 3 different flowers shapes.
An I also did butterflys and owls!


Trace and cut out.

Curve the petals!
And add adorable button!


Ta-dah!
Heres more of my creations!


Tho, these are beautiful, I would not recommend young children do this craft, MAYBE with an adult.
The edges are a little bit sharp so be very very careful!


Thanks for reading!

See ya!

March 7, 2014

DIY Button Barrettes


Happy Friday everyone!

I'm so happy this week went by fast, I can't wait for date night.

Here is a fast Diy craft you can do just in time for your date night!


All you'll need is:
*Glue gun and glue
*Bobby pins
*Buttons


Its as easy as glue and stick!


I put the glue in the middle so it wouldn't show thru the holes.


Ta-dah!


Have fun with it!


Come back soon, I'll be making my famous S'more bars soon!
See ya!