February 25, 2014

DIY Shamrock Garland


Hello everyone!
February is almost over and its time to get ready for March!
Ever since I was a little girl, I never really like St. Patrick's Day, I really don't like being pinch just because I wasn't wearing a certain color.
So I do not go all out for St. Patrick's Day, but I still wanted to do a little craft or two.

First one being a Shamrock Garland.


Here is whatcha gonna need;

*Two different color green paper. I used paint chips (You get them at Lowes, Home Depot or even Walmart. Plus its free, and free is good! I grabbed about 10 of each color. You could even throw some white in there.)
*Pencil and a sheet of white paper. (To make the stencil out of, or just print a shamrock out)
*Needle and white thread.
*Scissors


First things first! Make your stencil or print your shamrock out.
I drew a template of my paint chip to make sure it would fit.


After you have your stencil, begin to outline you shamrock on your paint chip/paper.


After your all done, Cut the shamrocks out carefully.


Once your shamrocks are cut out, Poke 2 hole at the top of the shamrock.
This makes threading so much easier.

Like this:


Begin stringing  you shamrocks on your thread.
I didn't cut the thread off the spool until I had all of my shamrocks on the thread.


I didn't tie the thread at the ends because my shamrocks didn't really move, but tying yours is up to you.

Here is my little holiday corner.


Thanks for stopping by!

I'll thinking for more march crafts, and I really want to do a "Frozen" Craft!

See ya soon!


February 21, 2014

DIY Puzzle Magnets


Hello peeps! 
Lets talk about puzzles! 
If you like me, your sister brought you a box FILLED with puzzle pieces one day because she knows how crafty you are.


Am I right?!
No? Okay.
Well, maybe you have some puzzles that have missing pieces, that's probably more likely.

Okay, so you probably seen many ideas for puzzle pieces on Pinterest, like ornaments, wreaths, picture frames and what not. Eventually, I'll probably have to do every puzzle craft on Pinterest. But for now, I didn't see magnets. And I love magnets. Cheep and easy to make!
So I had some maps on hand and thought it would be super cute to make Map Magnets!

How cute! Great for gifts or just for you!


Here is what I used/had on hand just in case.

*Puzzle Piece
*Mod Podge (Walmart $6.72)
*Puzzle Glue (Target $2.99) (I had this on hand, just in case I needed it.)
*Maps (I bought this one at a local thrift shop for $1)
*Magnets (I used the old ones that we weren't using anymore. But magnets are magnets.)
*X-acto knife.


First thing to do is pick the puzzle pieces that you want.


I picked some that had weird and fun shapes.

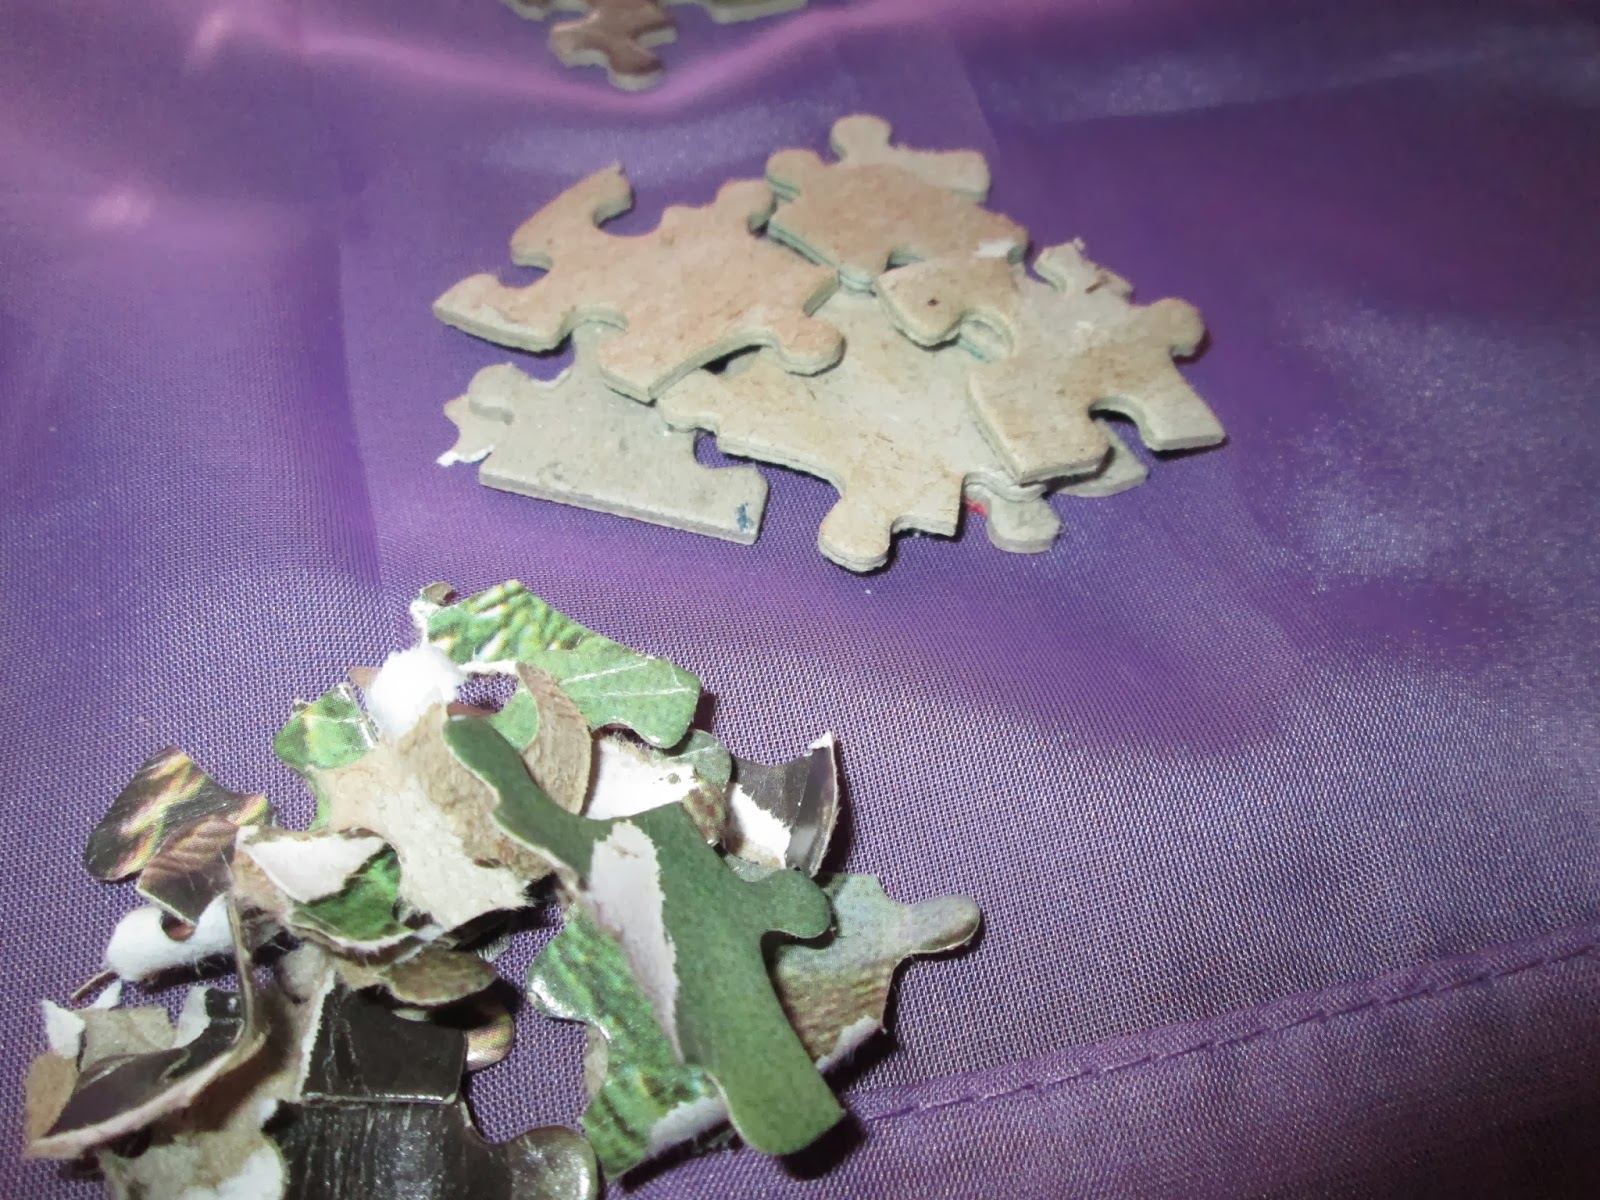
Then I thought the glue and the paper would stick better if I took the paper off the puzzle.


After your done taking the paper off, Put a good amount of Mod Podge or Puzzle Glue on the puzzle then put the map or whatever image that you want on the puzzle.


After the glue drys start cutting. I used an x-acto knife, it was so much easier than scissors.
After your done, apply the glue that you are using to the top of the puzzle piece to make it all glossy and shiny!
After the glue drys glue the magnet to the back of the puzzle piece.

And enjoy your beautiful remade puzzle pieces!


Thanks for reading!


February 19, 2014

DIY Flower Ball


Hello everyone!
Are you as pumped for my first post as I am!?
Lets get started! 

I've seen lots of the Styrofoam balls done in different ways, between paper flowers, fake flowers, Dum-Dum suckers and even cupcakes!
AMAZING!

I used fake Sunflowers because they are my favorite. :) 

Here is what your going to need:
    *Flowers of your choice (I used 4 bunches for one ball, which I got a local thrift shop for $1 a bunch, Dollar Tree usually has adorable flowers.)
    *Styrofoam Ball (Mine was 6 in round, I just had these lying around, I would check Walmart or Hobby Lobby plus Hobby Lobby gives out 40% off coupons in their ad, if its not already on sale.)
    *Wire cutters
    *Hot glue gun and glue (Just in case your flowers don't want to stick by themselves, mine did.)
    Start cutting your flowers. I took the leafs off of mine.

    Once you have all your flowers cut, start putting them in to the ball one at a time, until your ball is finished.

    Ta DAH!
    Now, I had one more spot of a flower but I just left it so I can get some fishing wire and hang it from the ceiling, but since I don't have fishing wire, I did some thing just until I do get some. How cute is that!?

    I hope you enjoyed, I look forward to posting more fun things we can do together!
    Tell your friends!

    Thank you so much!


    February 18, 2014

    Welcome!


    Hello and Welcome!

    Thank you for supporting me as I go out into the blogging world!
    I am so excited to be finally starting and I hope you will be patient with me as I am still learning how everything works.
    Check back soon to learn new and fun things!